How to Remove Scratches From an ATV
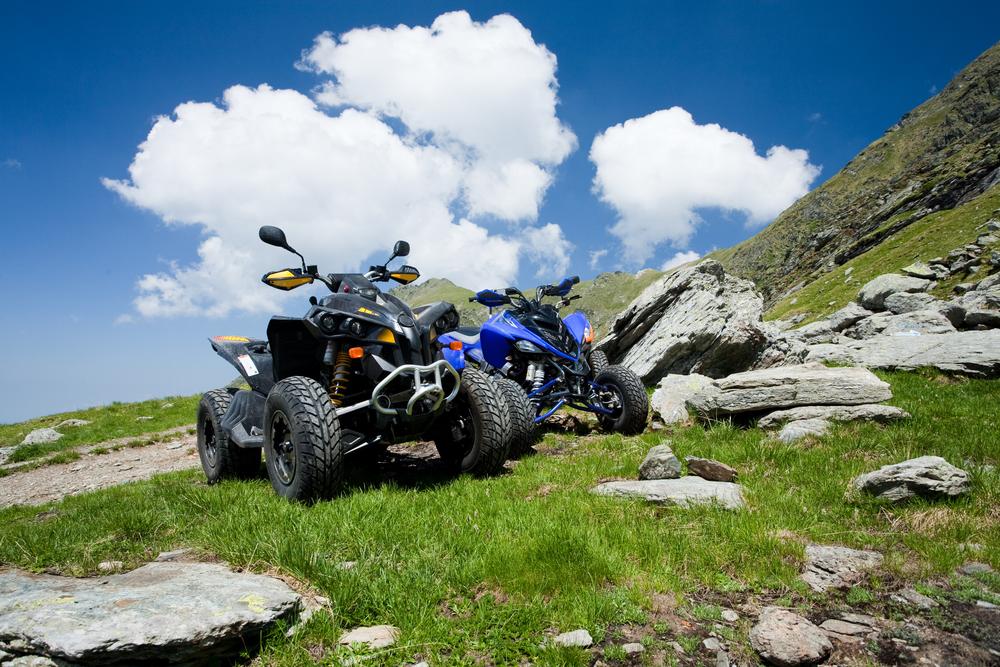
ATVs are prone to getting scratches because of flying rocks and debris it is driven on. The scratches can reduce the value of the ATV and prevent getting a reasonable price when selling it. The solution is to repair the scratches yourself. This article will instruct you on how to remove scratches from an ATV.
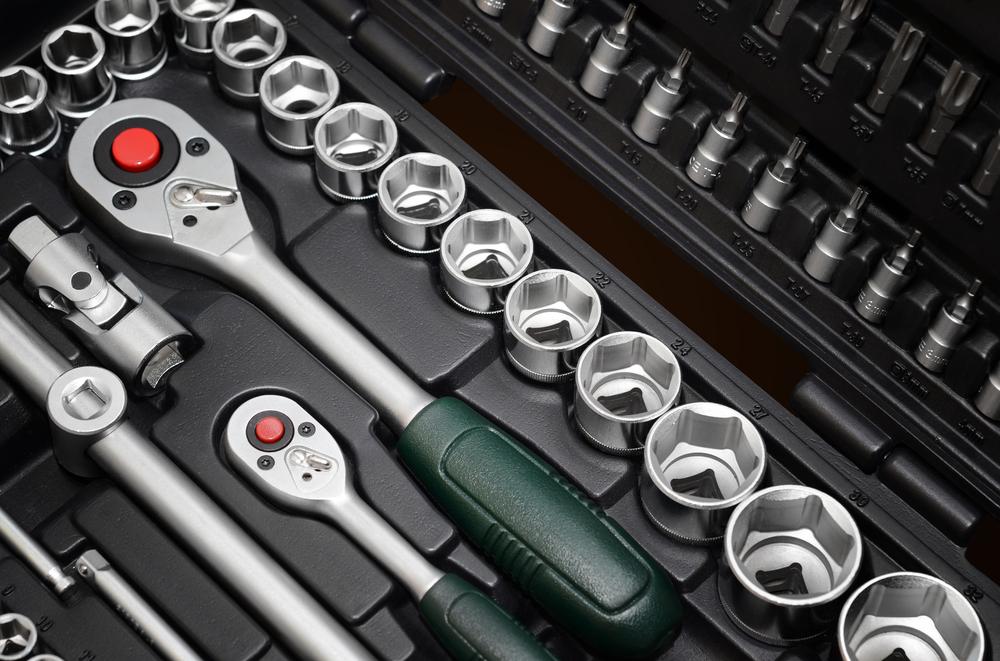
- Remove the scratched areas with a socket set. The bolts should be located along the edge of the scratches pieces. Some ATVs require a screwdriver to remove the parts.
- Place the plastic pieces on a table and wash the debris off using a warm water and soap. Dry the pieces thoroughly.
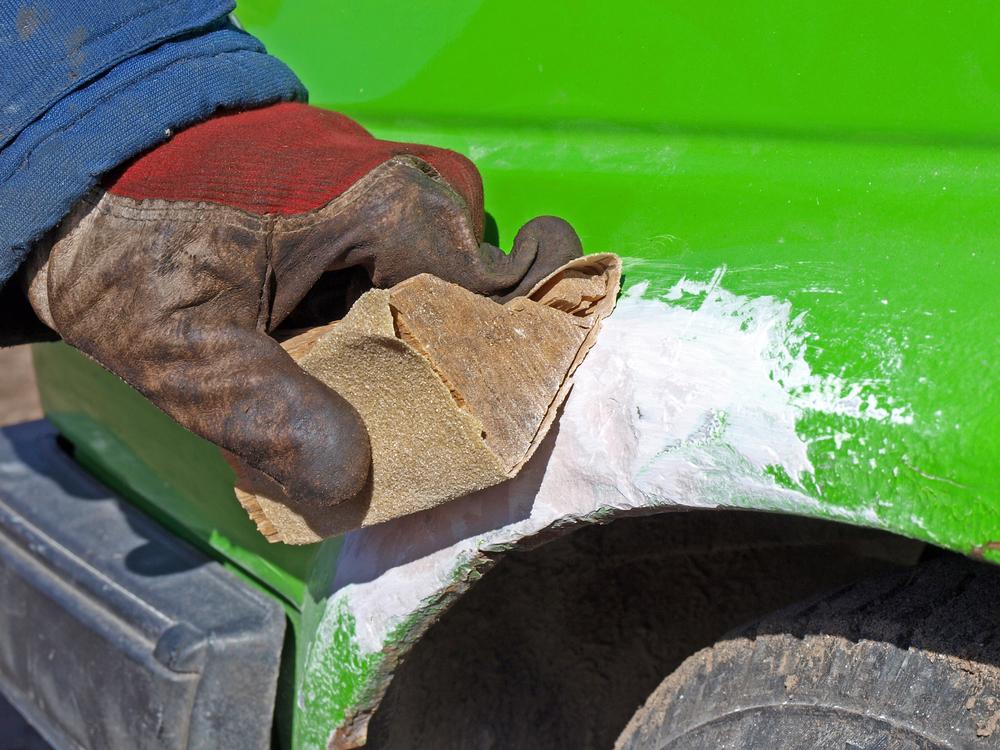
- Use a plastic filler to fill the scratches. Allow the filler to dry overnight. The filler must be completely hard before continuing.
- Smooth any bumps and rivets on the dried filler with a buffer. The filler should be even with the surface of the pieces.
- Paint the fender with spray paint using sweeping motions. Three to five coats of paint will be required. Allow each coat of paint to dry thoroughly before applying the next coat of paint.
- Apply floor wax evenly over the surface with a cloth. Use a buffer to polish the area. Use circular motions and a low speed.
- Attach the pieces back the ATV with the bolts or screws. Be sure the bolts or screws are tightened.