How to Change the Rear Tire on a Suzuki GS500

The Suzuki GS500 is a motorcycle that offers racing bike style with easy riding options, making it attractive to newer riders. It’s easy to maintain and owners can perform the majority of maintenance tasks, keeping bike's performance at top levels. With a few tools and the correct information, replacing the back tire on a Suzuki GS500 can be accomplished with ease.
You need
- Pliers
- Breaker bar
- Socket wrench and sockets
- Swing arm station
- Tire irons
- Tire
- Soap and water
- Use a pair of pliers and remove the cotter pin from the rear axle. Loosen the rear axle nut with the breaker bar, but do not remove it completely.
- Use a swing arm stand to lift the rear of the motorcycle off the ground.
- Use a socket wrench to loosen the chain adjusters on either side of the swing arm. Push the rear wheel towards the front of the motorcycle to loosen then slip the chain off the rear wheel’s sprocket.
- Finish removing the rear axle nut and pull the axle out from the swing arm and the rear wheel. Notice the location of the spacers and washers to reassemble in the same order.
- Place the wheel on a pair of wooden blocks with the brake rotor facing down. Remove the valve core with a core removal tool. Let the tire deflate.
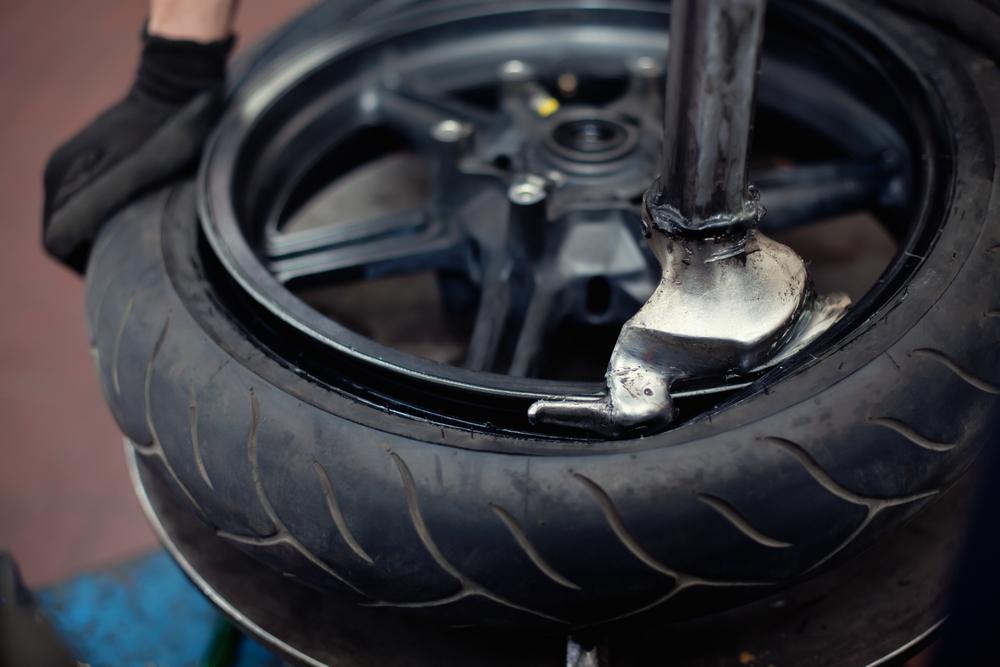
- Break the tire’s bead with a bead breaker and push the tire down. Insert a pair of tire irons between the tire and the wheel, placing one at the 11 o'clock position and the 1 o’clock. Press down on the tire irons to stretch the tire over the rim. Remove the 1 o’clock tire iron and place in the 3 o’clock position. Push down firmly to stretch the tire over the rim. Repeat until the first lip of the tire has been removed.
- Push the remaining lip of the tire against the edge of the tire rim. Insert a tire iron and push firmly until the tire pops off the rim.
- Lubricate the rim with soapy water. Slip the edge of the new tire over the rim. Stretch the first lip of the tire over the rim using a tire iron. Press the tire downward until the remaining lip touches the rim. Pull the tire onto the rim with the tire iron.
- Set the tire’s bead by inflating the tire with an air compressor. Two loud pops will indicate the bead is set. Allow the tire to deflate a bit and insert the valve core.
- Reinflate the tire to the recommended tire pressure.
- Install the wheel back onto the motorcycle.