Process for Changing the Oil in a Motorcycle

Changing the oil in your motorcycle is the easiest and most effective way to extend the life of your motorcycle. It should be done every six months or 3,000 miles, whichever comes first. You can also check the motorcycle manual for the best times to change the oil. This article will cover the process for changing the oil in a motorcycle.
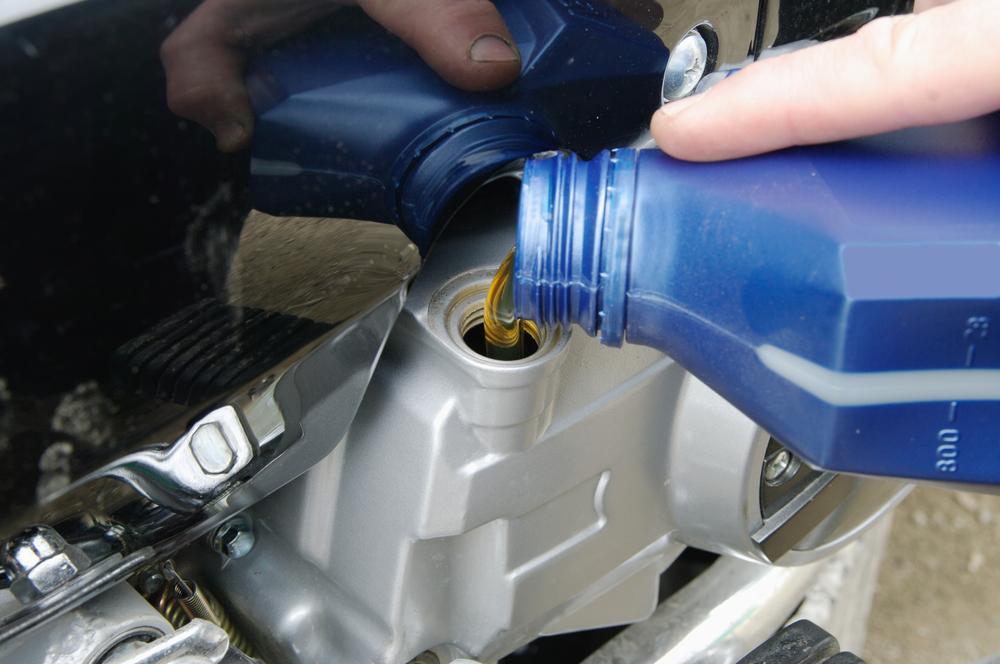
Process For Changing The Oil In A Motorcycle
- You will need an allen wrench or screwdriver, oil filter wrench, crush washer for the oil drain plug, needle-nose pliers, adjustable socket wrench, clean rags, engine oil, oil filler, and a funnel.
- Remove any bodywork, screws, bolts, brackets, and fasteners to expose the engine.
- Unscrew the oil filler cap. Use the needle-nose pliers if it is hard to reach or too tight.
- Place a pan or bucket under the engine. Use a socket wrench to remove the drain plug.
- Remove and replace the crush washer. It should be replaced after every oil change.
- Clean the oil drain plug with a clean rag.
- Remove the oil filter with the oil filter wrench. Make sure the o-ring came off with the oil filter. The o-ring is a band of rubber on the tip of the oil filter.

- Remove the plastic mesh filter from the engine case and wipe it clean. Remove any sludge from the drain plug, mesh filter, and oil filter holes.
- Lubricate the o-ring of the new filter with engine oil. Screw the new oil filter into the engine case. Do not over tighten the screws.
- After the old oil has drained, wipe down the drain hole and the mesh filter hole and replace the drain plug. Use the funnel to put in the new oil.
- Screw on the oil filler cap, start the engine, and let it idle for a few minutes.