Ski-Doo 1+1 Seat Installation Instructions
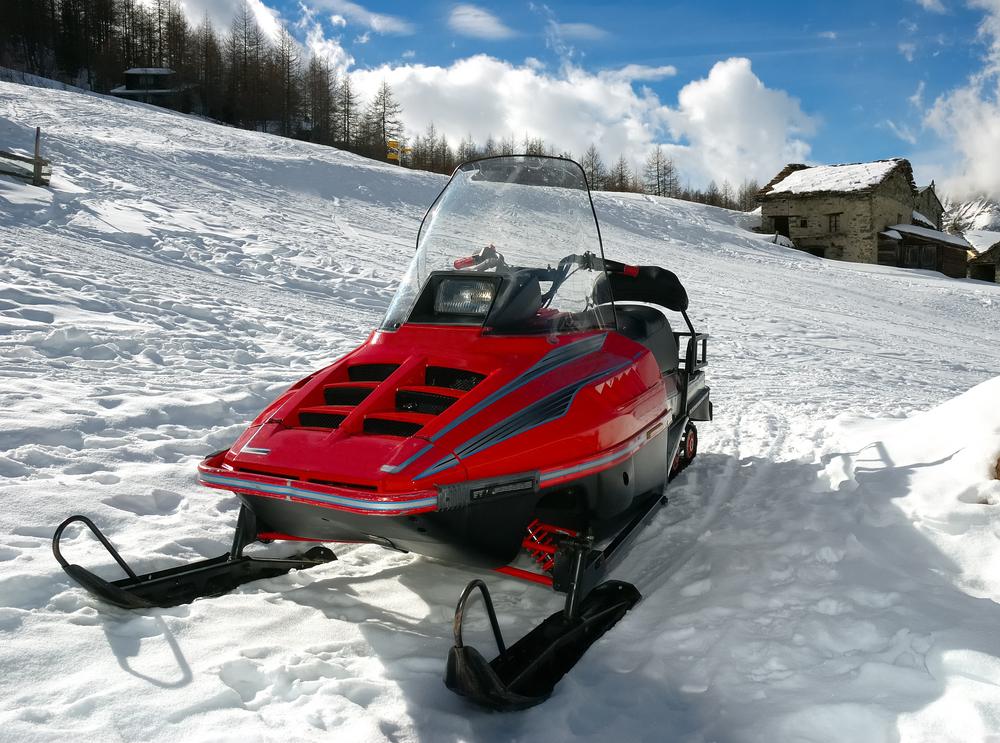
Cruising around in the winter's snow is more fun when there is room for two.The seating position of the 1 + 1 seat provides comfortable seating so that the Ski-Doo driver can have company on the ride.It allows the passenger to see over the driver, making the ride more pleasurable.Installing the seat is readily doable even for those new to making modifications on such a vehicle.
The 1 + 1 passenger seat kit allows you to bring another along for a winter ride. With the kit and a few tools, you will soon be safely off across the snowy terrain with a friend.
Tools needed:
- Screwdriver
- Ratchet wrench set
- Sandpaper
- Box cutter or fine-tooth handsaw
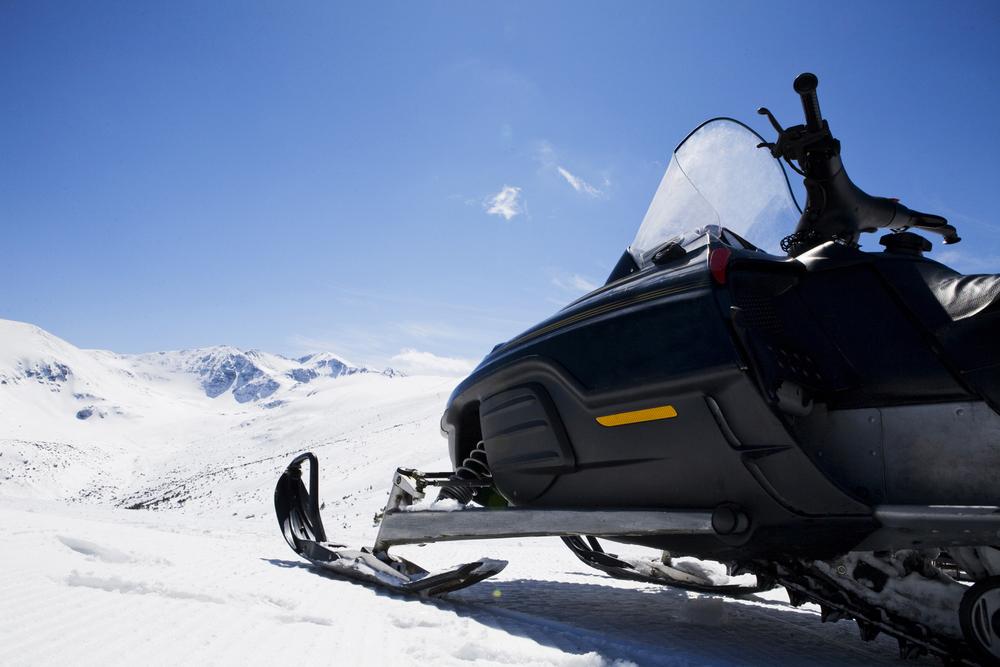
How to replace the Ski-Doo seating:
- Use socket head bolts to attach the handles to the seat.
- Secure the bolts with flanged elastic nuts.
- Use the round black handle caps to cover the bolt holes.
- Remove the storage cover from the snowmobile.
- Unscrew the trunk and latch screws.
- Remove the trunk, setting it aside along with the screws.
- Cut the side corners off the storage tray, following the half-circle markings.
- Unscrew the rear anchor nuts on the driver's seat. The nuts won't be reused, but the washers will be, so put them aside.
- Use flanged hexagonal bolts to attach the mounting plate at the rear tunnel anchors.
- Use the old washers and new elastic stop nuts to secure the mounting plate.
- Put the trunk and storage tray back in place, tightening all the screws.
- Create room for the new seat by trimming the upper plastic edges on the trunk.
- Smooth any rough corners or edges with sandpaper.
- Align the seat with the lugs on the mounting plate.
- Rotate around the lugs while pressing the seat down to secure it in place.
- Verify that the seat is properly latched before using.
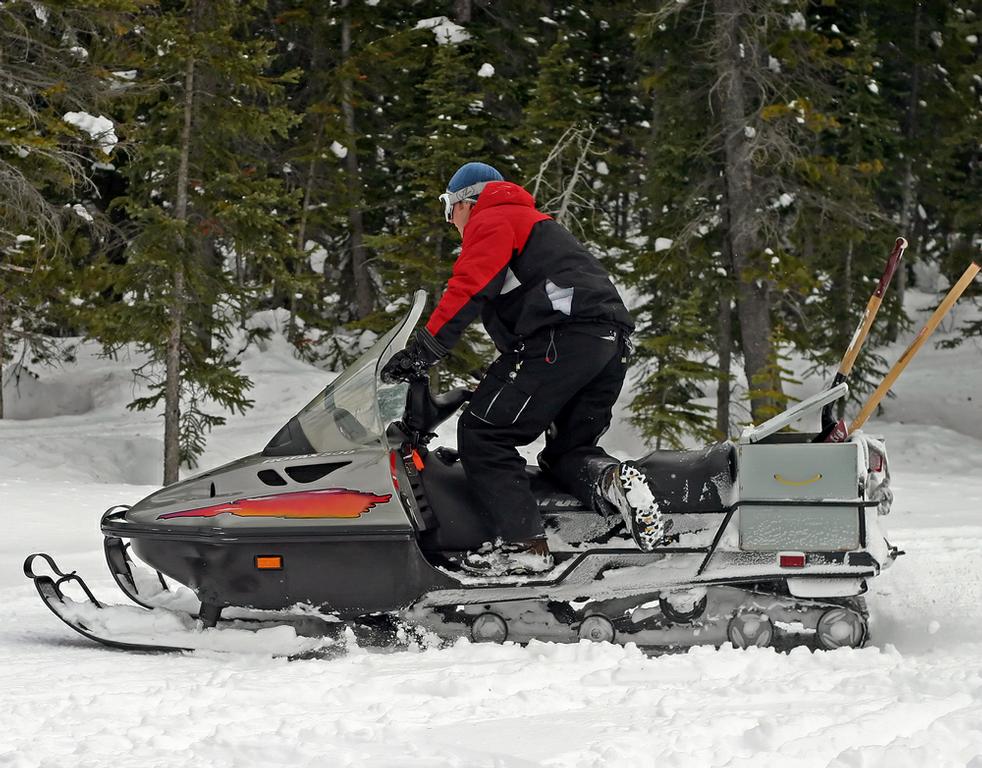
To remove the seat after it's installed:
- Press the quick release mechanism located at the rear bottom center of the seat.
- Lift up the back of the seat and pull it backwards.