How to Build Sides for a Utility Trailer
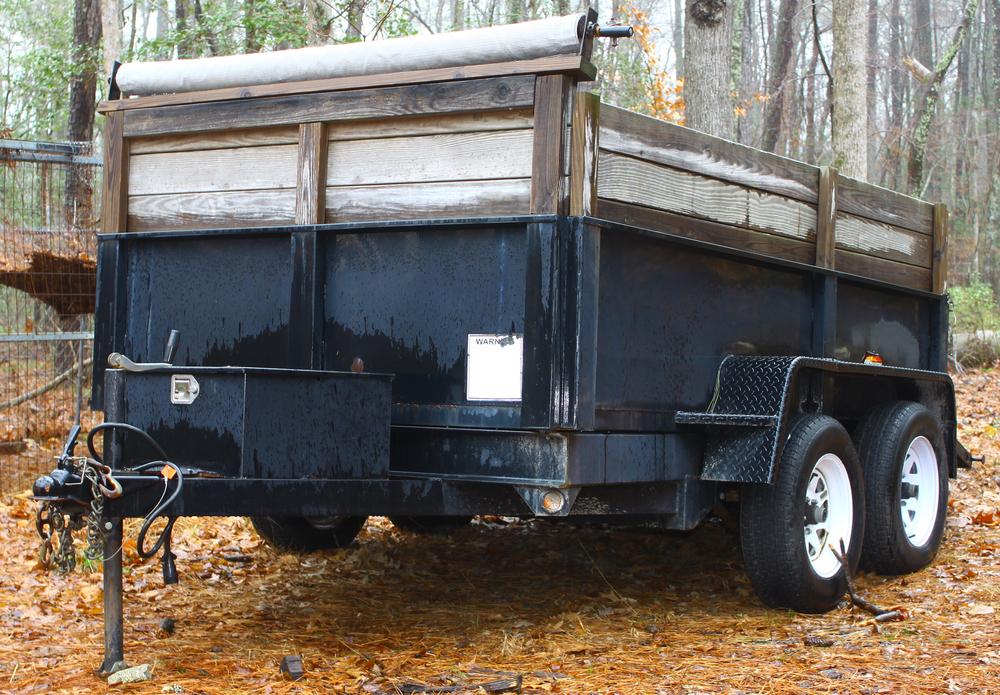
Utility trailers are very useful car or truck accessories that can be employed in a variety of situations: hauling large pieces of landscaping debris, carrying smaller vehicles like riding lawnmowers and jet skis or transporting large pieces of machinery. While a sturdy flat bed is essential, strong sides are also often needed in order to keep items from falling off the trailer.
Items Needed:
- Tape measure
- Carpenter's square
- Circular saw
- Two-by-four inch lumber
- 1-by-12 inch boards (optional)
- 1/2-inch pressure-treated plywood (optional)
- Hammer
- 2 1/2-inch or 3-inch galvanized screws
Instructions:
- Decide how high you prefer your trailer sides to be. A common standard height is 24 inches. However, others can be up to 36 or 48 inches. Consider the type of items you expect to carry in the trailer in making your decision. In general, the lighter the materials, the higher the sides should be.
- Measure your trailer's length.
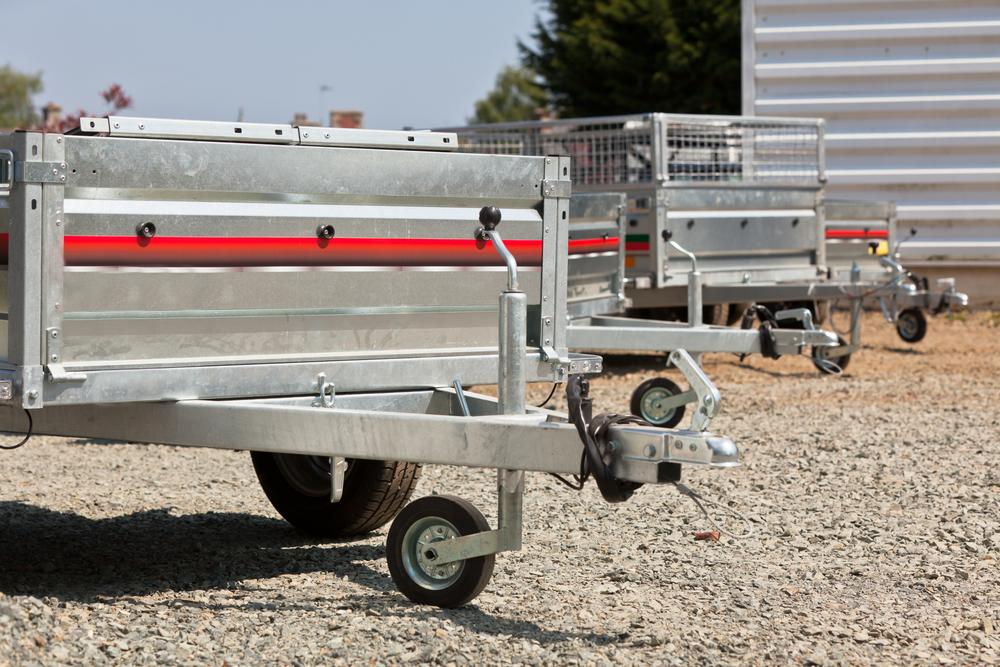
- Find the stake holes, slots or brackets located along the trailer sides. The number of brackets will vary depending on the trailer, but there should generally be about two to eight of them.
- Use the circular saw to cut two-by-four boards that will fit in the brackets. The boards should extend a minimum of 1 foot below the bed of the trailer and to your preferred trailer side height. For example, for 24" high trailer sides, the boards should be 36" high.
- Use the circular saw to cut 1-by-12-inch side boards to match the length of the trailer.
- Attach the side boards to the two-by-four boards using the galvanized screws. Make sure the panels are square by using the carpenter's square.
- Create similar front and back panels if desired.
- Slide the two-by-four into the brackets.
- Secure the boards into the brackets by tightening screws in the holes. If you prefer to have easily removable sides, do not tighten the screws fully.