Prefer to talk to a pro?
Call today, and let us connect you with the perfect merchant!
Call today, and let us connect you with the perfect merchant!
About Cortland, NY
Cortland is located in the Central region of New York known as the new location of the New York Jets training camp. Major attractions include 1890 House Museum and Center for Victorian Art and Suggett House Museum. Each year in October there is a Pumpkinfest and in August a Celtic Festival. The biggest school is SUNY Cortland. One of the best places to visit when you are in Cortland is Lime Hollow Center Environment and Culture. Famous people from Cortland include journalist Raymond Swing.
Best Businesses in Cortland, NY




Prefer to talk to a pro?
Call today, and let us connect you with the perfect merchant!
Call today, and let us connect you with the perfect merchant!
Related articles
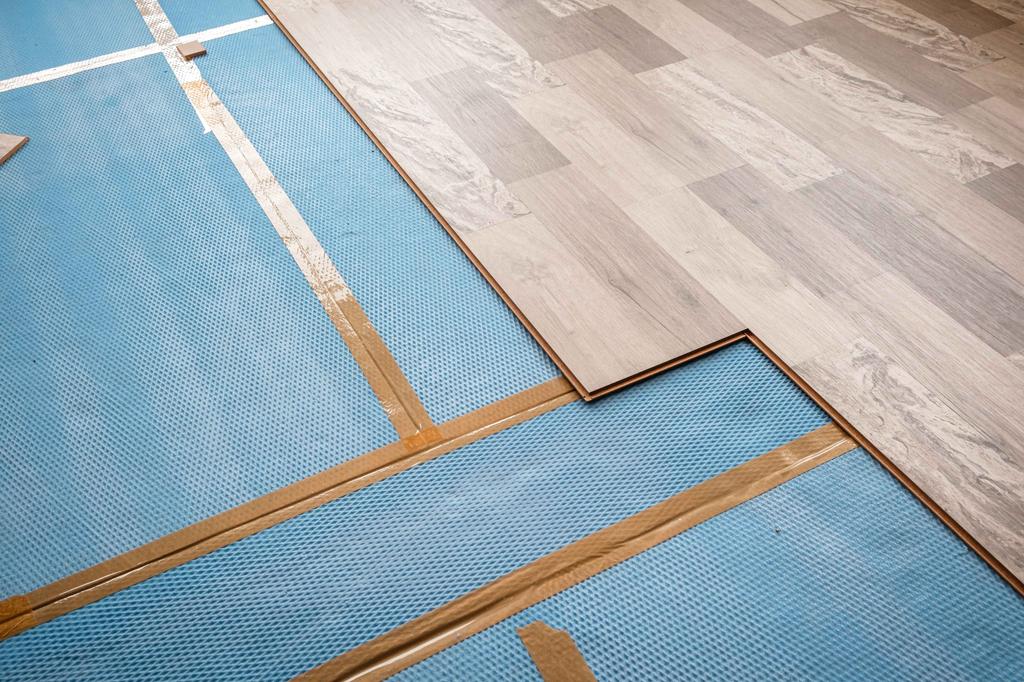
How to Fix Squeaky Floors: Easy DIY Solutions That Actually Work

Landscaping Gravel Types: Pros and Cons
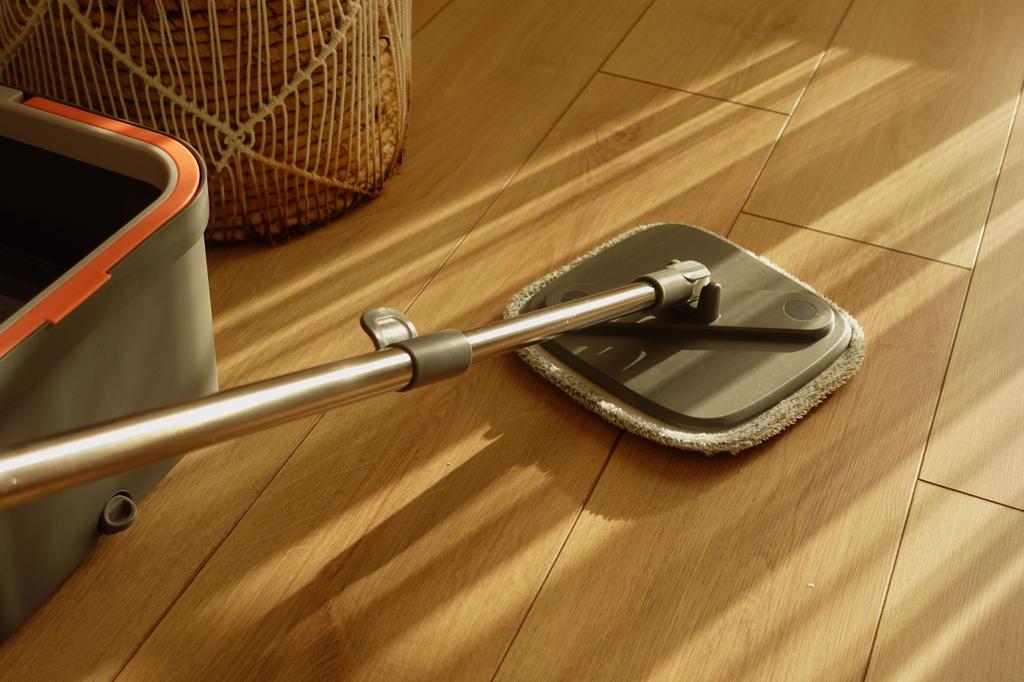
How to Clean Hardwood Floors: Simple Steps for Long-Lasting Shine
Updates & tips
How to Fix REGISTRY FILTER DRIVER EXCEPTION Error?
Windows 10 has been developed by Microsoft Corporation, which is a usually used OS. It offers many advanced features and the fastest operating speed. It permits the users to install several apps on the PC. As you know, several hardware or programs need drivers to function generally in the device. If the device driver is incompatible or outdated, then you may receive REGISTRY_FILTER_DRIVER_EXCEPTION BSOD Error on your screen. This issue is responsible for the device’s automatic reboot at specific time intervals, extremely disturbing. It causes serious damage to the Windows 10 system, whether neglected for a long time in the system. Update the Windows to the Newest Version To update the Windows to the newest version, pursue these on-screen instructions mentioned below. Navigate to the Windows Search bar on your system. Thereafter, input ‘Windows update’ into it and hit the Enter key to invoke the Windows Update screen. Once you reach there, hit the ‘Check for updates’ button. Later, wait until the Windows download the updates. Now, reboot the system. Perform System File Checker Scan To perform a system file checker scan, pursue these on-screen instructions mentioned below. Go to the Windows Search bar on the system. Then insert ‘cmd’ into it, then hit the Enter key to launch the Command Prompt. Once you see it, right-click on it, then pick the ‘Run as administrator’ option. Jump to the new screen and paste the pursuing command, then hit the Enter button: sfc /scannow You have to wait to finish the scan procedure. Now, restart the system and check the issue. Run DISM Utility to Check for Windows Image File To run DISM utility to check for Windows image file, pursue these on-screen instructions mentioned below. At first, launch the Command Prompt as administrator once again by following the steps mentioned above. Now, copy the pursuing commands and paste them, then hit the Enter button individually: Dism /Online /Cleanup-Image /CheckHealth Dism /Online /Cleanup-Image /ScanHealth Dism /Online /Cleanup-Image /RestoreHealth Check the Disk for Errors To check the disk for errors, pursue these on-screen instructions mentioned below. Invoke the Command Prompt as administrator once again by following the steps mentioned above. After that, input the pursuing command and hit the Enter key: chkdsk /x /f /r In case an error brings up, input the ‘Y’ letter and hit the Enter key. Finally, restart the system, and the disk check will begin. Reinstall the Drivers To reinstall the drivers, pursue these on-screen instructions mentioned below. Go to the Windows Search bar on the PC. Thereafter, insert ‘device manager’ into it and hit the Enter key to open the Device Manager. Jump to the new screen and extend the section of ‘Display adapters.’ You should select the graphics card, and right-click on it then hit the ‘Uninstall device’ button. Once appear warning, mark the ‘Delete the driver software for this device’ box and hit the Uninstall button. Finally, restart the system. Uninstall Current Third-party Software To uninstall current third-party software, pursue these on-screen instructions mentioned below. Go to the Windows Search bar over the system. Then insert ‘settings’ into it, then hit the Enter key to invoke the Settings. You should click on the Apps option. After that, order applications by the date of installation. Later, select the most currently installed program that could be causing the problem and hit the Uninstall button. Now, continue with on-screen steps to complete the process. Source:https://mcaf5ee.ijstart.info/how-to-fix-registry-filter-driver-exception-error/
Canon Printer Error Code E07: How To Fix the Error Code E07
Just like any other machine, printers also struggle to face error codes from time to time. Canon provides printers with both reliability and quality to have a better printing experience. And if you are a Canon printer user, then you must be familiar with some of the common error codes. However, every printer carries a different type of code in which some of which are considered common. It does not matter which printer brand you prefer, they all include common error codes, and they are completely fixable by using few methods. Acquiring a printer for your personal or professional work is normal these days. But printers come with great responsibilities and cannot be taken lightly when showing any error. These errors may be common but can affect deeply if ignored even after the error showed up. These common errors can become lethal after a while, which can easily damage your printer. And you must know that repairing a printer is not going to be cheap. You cannot afford to repair your printer every time you have trouble due to ignorance. It is better to get it fixed on the spot. You can resolve error codes like E07, E04, E05, etc., by yourself. If your printer is flashing error code e07, then this is the right place to find solutions for your error code problem. Before we discuss the solutions, we should find out the causes of error code e07 due to which your printing jobs are interrupted. Here, we have mentioned the causes of this error code along with the solutions for you. Let’s find out the methods to resolve the issue immediately, and they are as follows: What makes the error code e07 occur in the Canon printer? Whatever may be the cause of error codes, they all result in the same thing, which interrupts printing jobs. And this can be irritating sometimes when you are trying to complete your printing jobs at a time. However, let’s get started on the lists of reasons that made the error code e07 happen in your Canon printer. The occurrence of the error code e07 in the Canon printer is caused due to the underlying issue in the ink cartridges. Your printer will flash this error code when it faces difficulty in recognizing the ink cartridge properly. Always be aware of the reasons behind the error codes before you jump on the solutions to fix the problem. Below we have mentioned other possible causes of the error code e07, so read it carefully, and they are as follows: The printer flashes the error code e07 when you have installed third-party cartridges in your Canon printer. Another reason why this error code may bother your printer is if there was a problem while installing the cartridges, and it was not placed properly. If the cartridges are in the incorrect position, then it can also be one of the reasons for error code occurrence. Now that we have discussed the causes, we will move on to the solutions to help you fix the error code and complete your printing jobs immediately. What are the methods to resolve the error code e07 in your Canon printer? If you have ever faced the error code e07 in your Canon printer, then follow the methods mentioned ahead. And resolve the problem in a few minutes without any complications. The methods of solutions for your printer’s problem are as follows: Method 1: The first step is to open the cover of the Canon printer. Now you should try to move the cradle in the cartridge replacement position. After this second step attempt, you need to pull out both of the cartridges from the printer. When you remove both of them, you should check if the correct ink cartridge is installed in the printer. Also, make sure that the cartridges do not contain any third-party manufacturer label. Replace the cartridges with Canon’s model if it contains the third-party label. Now reinstall the ink cartridges and close the cover. Once you have done that, you can turn on the printer and check if the error message is still displaying. Method 2: First, turn off the printer. Then disconnect the USB cable and all power cables directly from the main power supply. Once you have disconnected it, move the printer to the safer area. Now examine if the ink cartridges are placed in the right position and at the right place. Always remember to install a black cartridge in the slot made especially for it. And the color cartridges should be installed in the slot made for color ones. After you have reinstalled the cartridges, make sure it is clicked properly in its position. Now close the lid and reconnect your printer just like before. The error message would have disappeared by now. Method 3: First, open the cover and remove the ink cartridges carefully. Clean it with a soft and clean cloth if you found the cartridge clogged with dirt or ink as they block the nozzles and create problems in printing jobs. Once you have cleaned the clogged ink and printhead nozzles, you need to reinstall the ink cartridge and close the cover. Now you can print a page to check if the issue has been resolved. Source:https://ijijstartcan.ijcouk.com/canon-printer-error-code-e07-how-to-fix-the-error-code-e07-in-your-printer-instantly/
How to Control Your Android Smartphone With Your Facial Expressions
Do you own an Android smartphone and are tired of using tedious touch controls to interact with your device? Using an Android device is pretty easy for anyone as it has a user-friendly UI. All Android devices come with various excellent features that anyone can easily access to have the best experience. Google releases updates for Android from time to time to improvise the users’ experience. And recently, the Android 12 Beta version has been made available to download for all users. Google has added many new options within this upgraded Android version, including scrolling screenshot support, one-handed mode, and unique customization and privacy capabilities. Along with this, one can now even control their device with just their facial expressions. Do you want to know how to do so? Want to see how you can interact with your Android smartphone with your facial expressions? If you have already downloaded the Android 12 beta version on your device and want to see how you can control it with your facial expressions, you have now come to the right page. The following article will show the method following which you will activate the option to control your Android smartphone with your facial expressions. So, keep reading the post to get full details. All About Controlling Android Smartphone Using Facial Expressions Android 12 includes a feature that enables users to control their device using facial expressions such as smiling, raising eyebrows, and eye movement. Google already offers many accessibility features to Android users, like voice access for touchless control, action blocks for quickly performing a specific task, support for hearing aids, and live transcription. These accessibility options are either baked in at the OS level as part of the Android accessibility suite or made available in third-party dedicated apps. Support for the facial gestures is a significant update to switch access in Android 12. To control your Android smartphone with your facial gestures, you will have to use your device’s built-in camera app. If you want to try this new feature right away, make sure that you have updated the Android version on your device. And then, you will have to follow a method to enable the functionality. For this purpose, here, we have mentioned a helpful step-by-step guide that you will need to follow. So, without further discussion, let’s see what you will need to do to control your Android smartphone with your facial expressions. Instructions to Setup Camera Switches Accessibility Service Here are the steps following which you can set up the camera switches accessibility service on your Android device: First of all, go to the Settings screen on your device and then tap on the option of “Accessibility” to navigate to the Accessibility Settings page. Now, go to the “Interaction Controls” menu and tap on the option of “Switch Access.” After this, turn on the toggle button for the “Use Switch Access” option, after which you will see a pop-up on your screen requesting complete control of your device. You will have to grant permission by tapping on the “Allow” button to set up the feature. After enabling the switch access, you will see the option to choose a switch type and number of switches. You will have to pick “Camera Switch” as the switch type. You will now have to pick how the switch access should scan the contents on your screen. For this, you will be provided with the options, including Linear scanning, Row-column scanning, and Group selection. You can select any of them. And now, tap on the “Next” button located in the bottom right corner of the screen. At last, pick any of the facial gestures that you would like to use. For instance, you can set up the smile gesture to open the quick settings panel. And in the same way, you can assign gestures to other actions as well. That’s it. Now you can use the selected expression to interact with your Android device. So, this is how you can interact with your Android smartphone using your facial expressions. And this is all for now. Keep visiting our official website to stay updated. Source:https://mcafeemcafeeactivate.wordtypo.com/how-to-control-your-android-smartphone-with-your-facial-expressions/